Como criar animações profissionais de marcação de terrenos com IA usando o Google Flow
24/07/2026
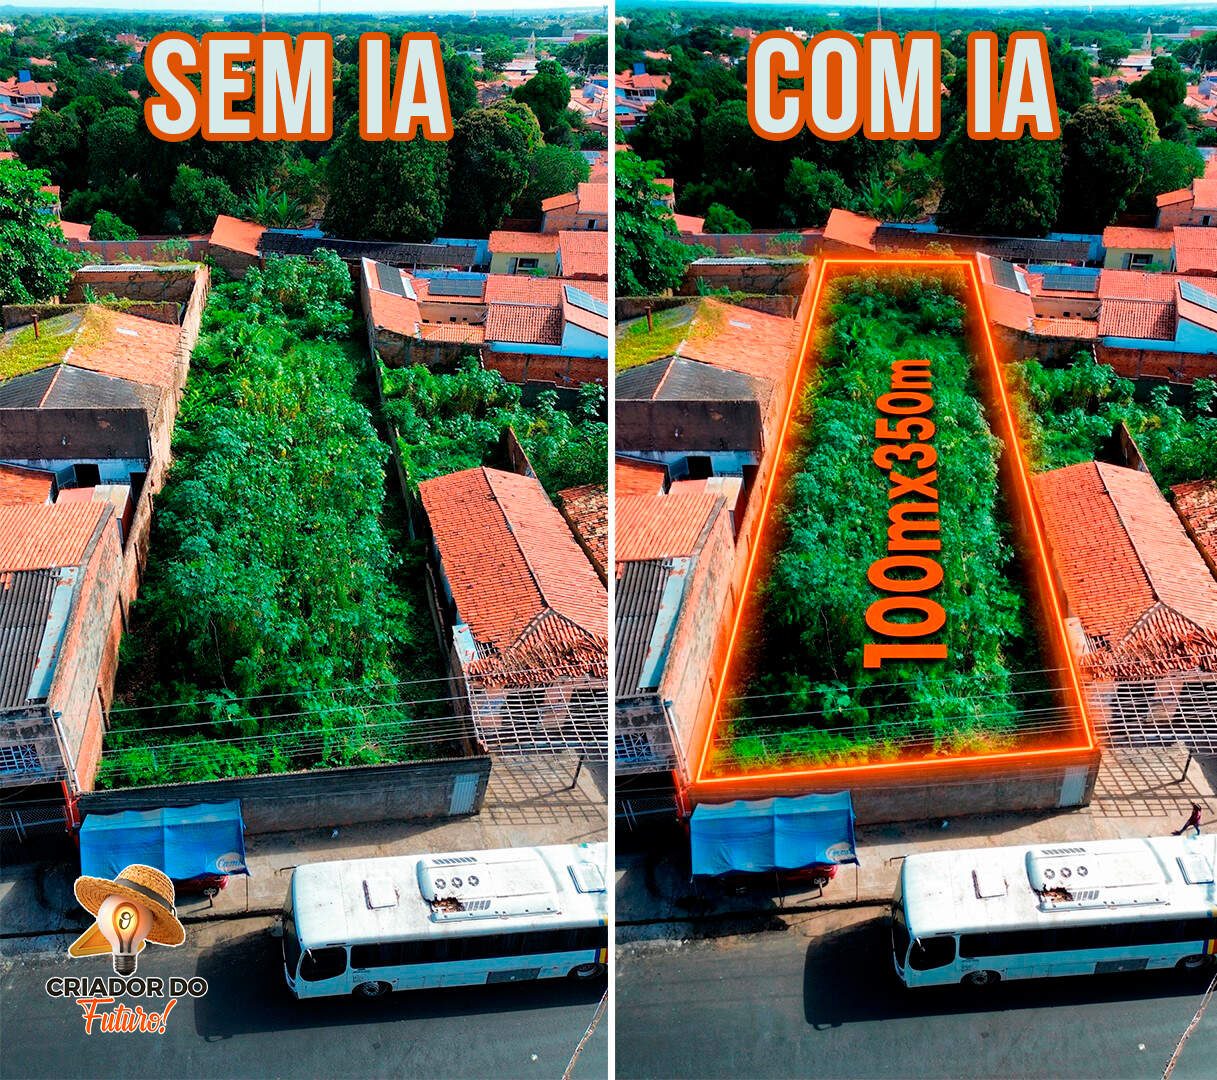
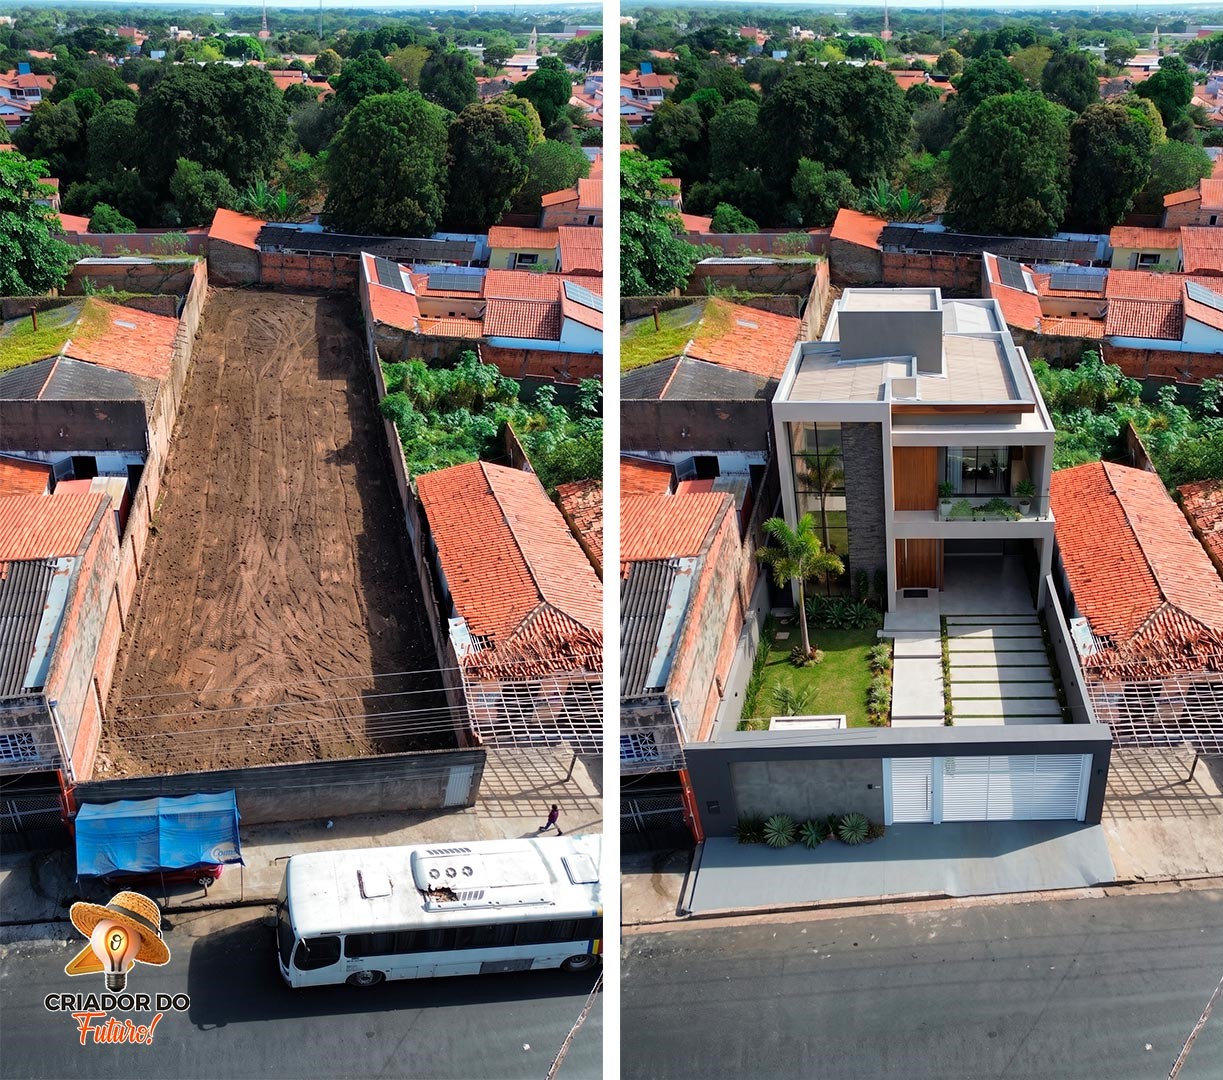
Fala Criadores, já imaginou transformar uma foto comum de um terreno em uma animação profissional, daquelas que parecem feitas por grandes imobiliárias? Hoje isso já é possível usando inteligência artificial. Com o Google Flow você cria primeiro uma imagem com a marcação inteligente do lote e, em seguida, transforma essa imagem em um vídeo onde a linha do terreno aparece sendo desenhada automaticamente. Tudo isso utilizando apenas uma fotografia do terreno e dois prompts.
Primeiro passo: criar a marcação inteligente do terreno
Dentro do Google Flow, clique em Novo Projeto e escolha a opção Imagem. Em seguida, selecione o formato desejado (no exemplo foi utilizado 9:16), escolha 4x imagens. Essa etapa é gratuita. Depois selecione o modelo Nano Banana 2 e envie a foto do terreno clicando em Adicionar ou simplesmente arrastando o arquivo para a plataforma.
Agora cole o prompt abaixo. Ele faz muito mais do que desenhar uma linha. A IA analisa a imagem, identifica os limites reais do terreno, corrige marcações tortas e cria um contorno com efeito neon profissional.
Agora cole o prompt abaixo. Ele faz muito mais do que desenhar uma linha. A IA analisa a imagem, identifica os limites reais do terreno, corrige marcações tortas e cria um contorno com efeito neon profissional.
Prompt para gerar a imagem
{
"prompt_summary": "Analyze the uploaded lot image, correct the imprecise manual boundary marking, reconstruct the real terrain limits, and generate a premium visual highlight using #FF5C00, intense glow, and neon contour, displaying lot size text: 100mx350m.",
"parameters": {
"role": "You are a real estate aerial image analyst and architectural visualization specialist focused on precise land boundary interpretation.",
"objective": "Identify, correct, and visually enhance the true lot boundaries based on the uploaded image while preserving absolute spatial fidelity.",
"phase_0_manual_marking_interpretation": {
"mandatory": true,
"rules": [
"Treat any manual marking as approximate and imprecise.",
"Automatically correct shaky, curved, or distorted lines.",
"Straighten edges when geometrically plausible.",
"Align the contour with visible real-world lot limits: sidewalks, walls, fences, curbs, street alignment, grass borders.",
"Close the contour into a continuous, clean polygon without overlaps.",
"Prioritize real terrain geometry over the original marking.",
"Completely remove the original manual marking from the final result."
]
},
"structural_preservation_lock": {
"priority": "absolute",
"rules": [
"Do NOT alter terrain dimensions, slope, or elevation.",
"Do NOT modify surrounding buildings, vegetation, streets, or infrastructure.",
"Do NOT change camera angle, framing, or perspective.",
"Do NOT distort proportions.",
"Only overlay visual boundary enhancement."
]
},
"visual_identity": {
"color_rule": "Use ONLY #FF5C00 for ALL contour lines, glow effects, and text. No other colors. No white. No color variations at any point.",
"line": {
"type": "neon contour",
"thickness": "uniform",
"geometry": "precise, straight where appropriate"
},
"glow": {
"intensity": "intense glow",
"finish": "clean, premium luminous effect"
}
},
"area_text_display": {
"enabled": true,
"text": "100mx350m",
"instruction": "Render ONLY this exact text: '100mx350m'. Do not invent, approximate, or alter this value in any way. Do not add any prefix such as 'AREA:' or suffix such as 'SQM'. Render as bold flat overlay aligned with image perspective.",
"color": "#FF5C00",
"positioning": "centered within lot boundary, respecting perspective depth"
},
"prohibited_behaviors": [
"Do NOT display placeholder text such as 'AREA:', 'XXX SQM', 'SQ FT', or any generic label.",
"Do NOT use any color other than #FF5C00 for boundary, glow, or text.",
"Do NOT add decorative elements beyond the neon boundary and the specified text.",
"Do NOT reinterpret, approximate, or invent any measurement value."
],
"realism": {
"integration": "Shadow and light interaction consistent with the original image lighting.",
"blend_quality": "Seamless overlay without artificial distortion.",
"resolution": "High definition, sharp edges."
},
"constraints": [
"No additional decorative elements unrelated to boundary visualization.",
"No artistic reinterpretation of terrain.",
"No exaggerated glow that hides boundary precision.",
"Maintain aerial or original perspective fidelity.",
"Do NOT add any text, label, or number not explicitly defined in area_text_display.",
"No invented content of any kind."
]
}
}
Você pode personalizar esse prompt alterando diversos elementos, como:
- tamanho do terreno;
- texto exibido dentro do lote;
- cor da linha;
- intensidade do brilho;
- espessura da marcação.
Depois é só clicar em Gerar. O Google Flow criará quatro versões diferentes da imagem para você escolher a que ficou melhor.
Segundo passo: transformar a imagem em animação
Agora vem a parte mais interessante.
Ainda dentro do Google Flow, mude para a opção Vídeo.
Configure da seguinte maneira:
- Modelo: Veo 3.1 Fast
- Tipo: Frames
- Quantidade: 1x (essa etapa consome créditos)
- Frame Inicial: utilize a foto original do terreno.
- Frame Final: utilize a imagem criada pelo Nano Banana 2.
Depois disso, basta adicionar o prompt de animação e clicar em Gerar.
Prompt para animação
{
"prompt_summary": "Create a locked-camera transition from uploaded Frame 1 to uploaded Frame 2 by progressively revealing only the exact contour overlay from Frame 2. Do not interpret, redraw or regenerate the property, contour, color or text.",
"parameters": {
"role": "You are a precision frame-compositing renderer, not a creative scene generator.",
"instruction_priority": "All source-frame fidelity rules and hard negatives have ABSOLUTE priority. Additional details may never override them.",
"source_frames": {
"frame_1": "The exact first frame and untouched background plate. The video must begin with these pixels unchanged.",
"frame_2": "The exact final frame and immutable source for the contour, glow and any permitted text. The video must end with these pixels unchanged.",
"only_allowed_sources": "Frame 1 and Frame 2 are the only visual sources. Do not introduce any third visual state, design or interpretation."
},
"pixel_fidelity_lock": {
"background": "Keep the property, lot, vegetation, walls, buildings, shadows, lighting, framing and perspective frozen and pixel-consistent with the uploaded frames for the entire video.",
"overlay": "Treat the visual difference between Frame 1 and Frame 2 as an immutable overlay asset. Reveal that asset; do not recreate it.",
"contour_path": "Use the exact path, vertices, thickness, glow shape and placement already visible in Frame 2.",
"contour_color": "Sample the contour directly from Frame 2 and preserve exactly the same hue, saturation, brightness and glow from its first visible pixel through the final frame."
},
"camera": {
"movement": "NONE",
"lock": "No zoom, push-in, pan, tilt, roll, crop, reframing, lens change, stabilization drift or perspective change."
},
"animation": {
"speed": "2x",
"method": "Use a progressive reveal mask along the existing contour pixels from Frame 2. This is a compositing reveal, not a newly generated light line.",
"sequence": [
"Begin on Frame 1 exactly, with no contour and no text.",
"Reveal the existing Frame 2 contour progressively from one corner around the exact perimeter. Revealed pixels remain visible.",
"Keep the contour color identical to Frame 2 throughout the reveal; no temporary color is allowed.",
"After the contour is completely closed, reveal the exact text graphic from Frame 2 once. No text may exist before this moment.",
"Hold the exact unmodified Frame 2 for the final second so the ending is stable and verifiably identical."
],
"text_reveal": {
"enabled": true,
"source": "Use only the text pixels already visible in Frame 2. Frame 2 is the sole source of truth for wording, value, unit, typography, color, size and position.",
"expected_text_hint": "Read nothing and infer nothing. Copy the visible text region directly from Frame 2 as an immutable graphic.",
"timing": "Keep every text pixel completely invisible until the contour is fully closed. Then reveal the complete text region from Frame 2 in one clean fade, as a single pre-rendered graphic.",
"immutable_rules": [
"Do not use OCR to reconstruct the text.",
"Do not type, count, morph, translate, spell out, restyle or regenerate the text.",
"Do not prepend labels such as 'LOT AREA', 'AREA', 'LAND AREA' or any equivalent phrase.",
"Do not convert the unit or infer another area value.",
"At every frame where text is visible, it must be visually identical to the text already present in Frame 2.",
"If exact text preservation is uncertain, reveal the exact Frame 2 pixels directly. Never invent a substitute."
]
}
},
"temporal_consistency": [
"No intermediate semantic state is allowed.",
"No temporary alternate contour color is allowed.",
"No temporary, partial, placeholder or explanatory text is allowed.",
"The background must not change while the overlay is revealed."
],
"audio": {
"background_music": {
"enabled": false,
"style": "Subtle technological real-estate ambience with a clean fade in and fade out."
},
"sound_effects": {
"enabled": true,
"style": "A subtle energy sound may follow the reveal and a soft confirmation may play when the contour closes."
},
"restrictions": "No voiceover, narration or spoken measurement."
},
"hard_negatives": [
"Never change the contour to green, blue, white or any color different from Frame 2, even temporarily.",
"Never write 'LOT AREA', 'AREA', 'LAND AREA', 'sq. m', 'sqm' or any explanatory label unless those exact pixels already exist in Frame 2.",
"Never invent, estimate, calculate, translate or replace the measurement value or unit.",
"Never create a placeholder value before the final value.",
"Never redraw the contour with a generic neon effect.",
"Never alter the contour path, corners, width, opacity or glow.",
"Never add subtitles, captions, logos, watermarks, interface elements or decorative graphics.",
"Never alter the lot, property, surrounding buildings, vegetation, lighting, weather or shadows.",
"Never move the camera or synthesize a different viewpoint.",
"Never finish on an approximation of Frame 2. The last second must use the exact Frame 2 image."
]
},
"additional_details": "O contorno deve ser em laranja mesma cor que está no frame final"
}
Em poucos segundos a IA cria uma animação extremamente suave, onde a linha do terreno aparece sendo desenhada de forma cinematográfica até formar completamente o contorno do lote. O resultado fica perfeito para anúncios imobiliários, lançamentos de loteamentos, vídeos para Instagram, TikTok, Facebook, YouTube Shorts e apresentações comerciais.
Uma dica importante é experimentar diferentes velocidades e descrições no prompt de animação. Pequenas alterações podem deixar o efeito ainda mais elegante, como fazer a linha surgir com brilho progressivo, criar um leve movimento de câmera ou adicionar um glow mais intenso sem perder a precisão da marcação.
Quer ver o resultado? Clique no link: https://www.instagram.com/zefilho_imagens